That winter again I tried to do as much as possible of the maintenance myself. There are a few things that I was planning to do but I couldn’t because I haven’t been near the motorcycle since the COVID-19 outbreak. I didn’t ride it at all last year.
The good news are that during the 2019 season I could see that the new battery, stator and regulator solved all my electrical problems.
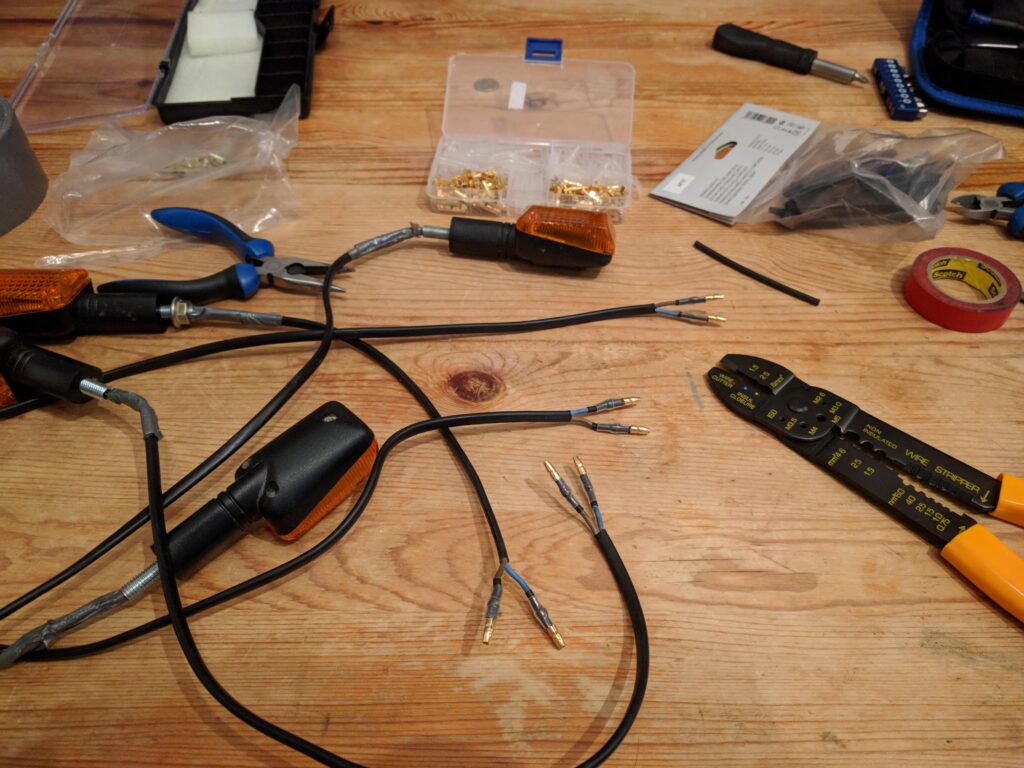
I didn’t do a good job with the cables and connectors for the new indicators, so I had to redo them again. Unfortunately the indicators are as weak as they look, and I had to glue the broken arm of one of them after a fall. I will keep them since my main concern is that the front bracket doesn’t get twisted again, but it’s good that I have the original indicators around. One of the things I still have to fix is a mirror I broke in the same fall.
I’m very happy with Oxford Premium Adventure heated grips. As planned, this winter I cut their main power cable and connected it to the key lock, as I had done with the USB sockets. This is not necessary, but it’s nice to have less cables going from the front to the battery over the engine. Now I have two things connected to the battery: the motorcycle battery connectors and the Motek regulator/rectifier that bypasses them.
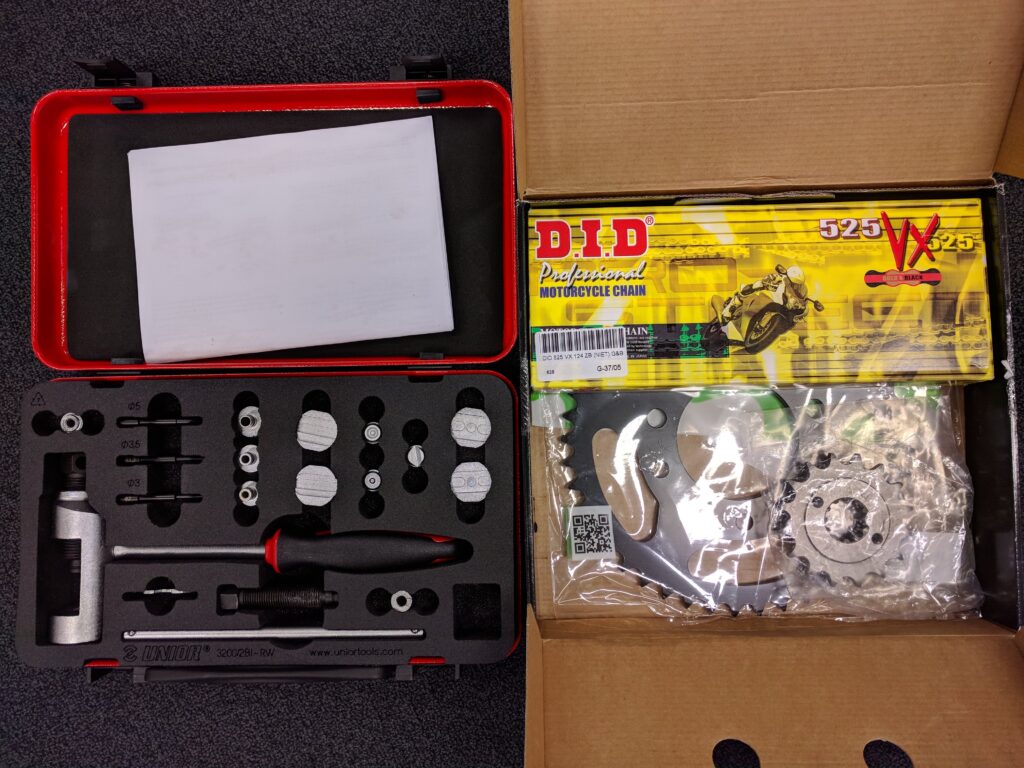
My main challenges for this year were to replace the chain, sprockets and rear tire, which I never did before. Unfortunately I didn’t get the tire on time. I got different advices about whether I should try to change the chain myself, but I came across this video that explains the process so well that it gave me the courage to do it.
I had a look at other videos by Delboy’s Garage and they are brilliant. This will be one of my main sources of information for motorcycle maintenance, from now on.
Another thing to consider about replacing the chain is that you need a chain breaker and riveter tool, which is expensive. I bought the one by Rothewal. Be careful with this tool: it has several pieces for each task, including thin pins that you could break if you don’t assemble and use it properly. I didn’t find the instructions that came with it completely clear.
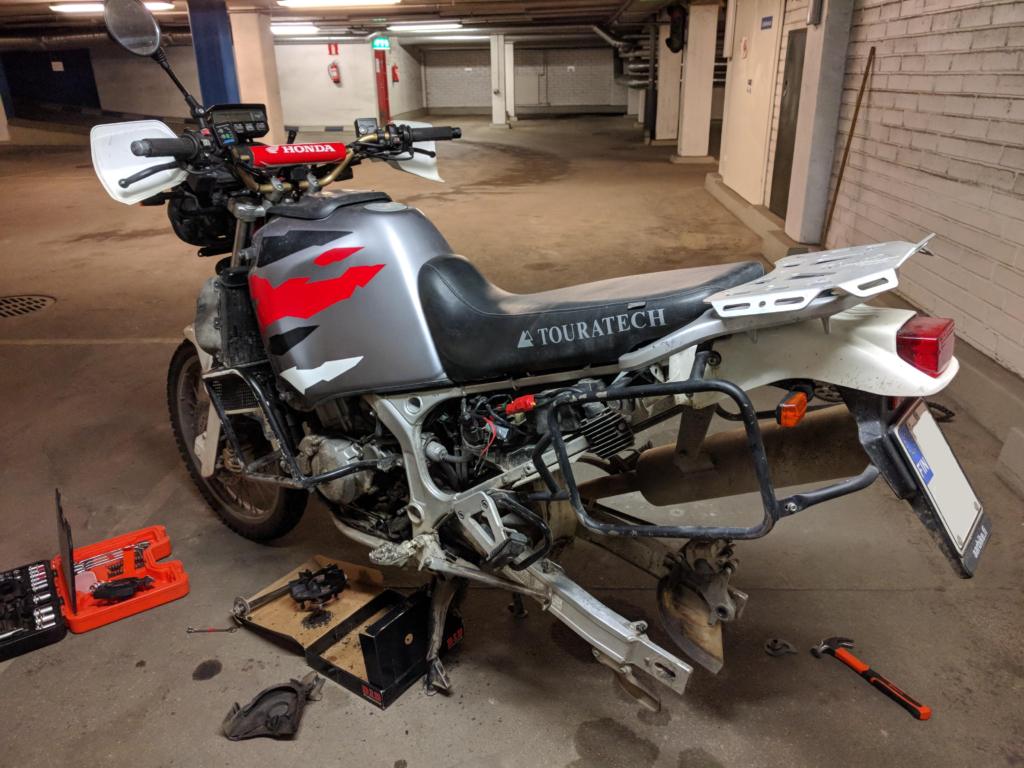
Anyway, with all the information and the help of a friend I changed Vacaburra’s sprockets and chain. I understand the people who advised me not to do it. One has to be careful and the tool is expensive. The picture below shows the process half way. But I’m happy we did it. The result looked good and I’m confident we did a good job. I wish I had detailed pictures to show you. Unfortunately I couldn’t test it riding the motorbike, yet.
My main issue now is a sticky throttle. This means the throttle doesn’t close when I let it go, it stays where it is. This is dangerous. I tried to fix it by putting oil in the cable, but it didn’t work. I read the cable has teflon to make it slippery and this could be worn out, meaning the cable needs to be replaced. I shall do that and put a new tire and mirror this spring.